How to Setup Google Analytics 4 in Next.js
Google Analytics 4 (GA4) is the latest version of the popular web analytics tool offered by Google. As the successor to Universal Analytics, GA4 comes with several new features and enhancements that provide businesses and marketers with more insights into their online presence. With GA4, you can analyze user behavior across multiple platforms, including mobile apps, websites, and other digital devices. In this article, we'll explore how to set up Google Analytics 4 in a Next.js app.
Setup Google Analytics 4 Property
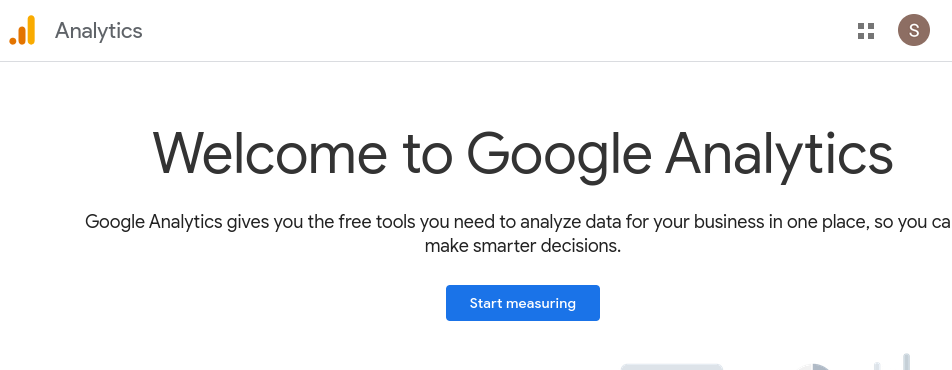
- Go to https://analytics.google.com/ and click “Start measuring”
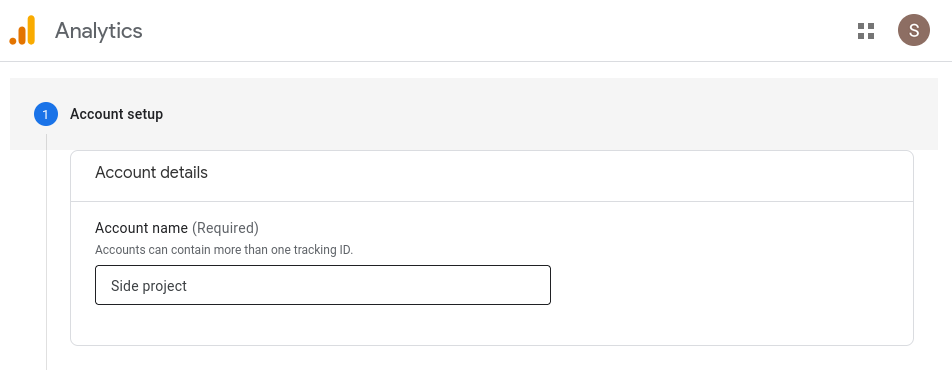
- Name your account
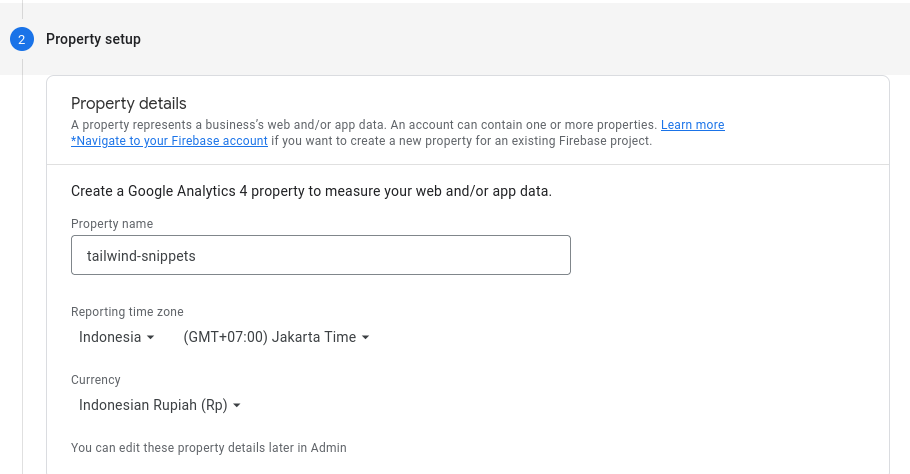
- Setup Google Analytics property, timezone and currency
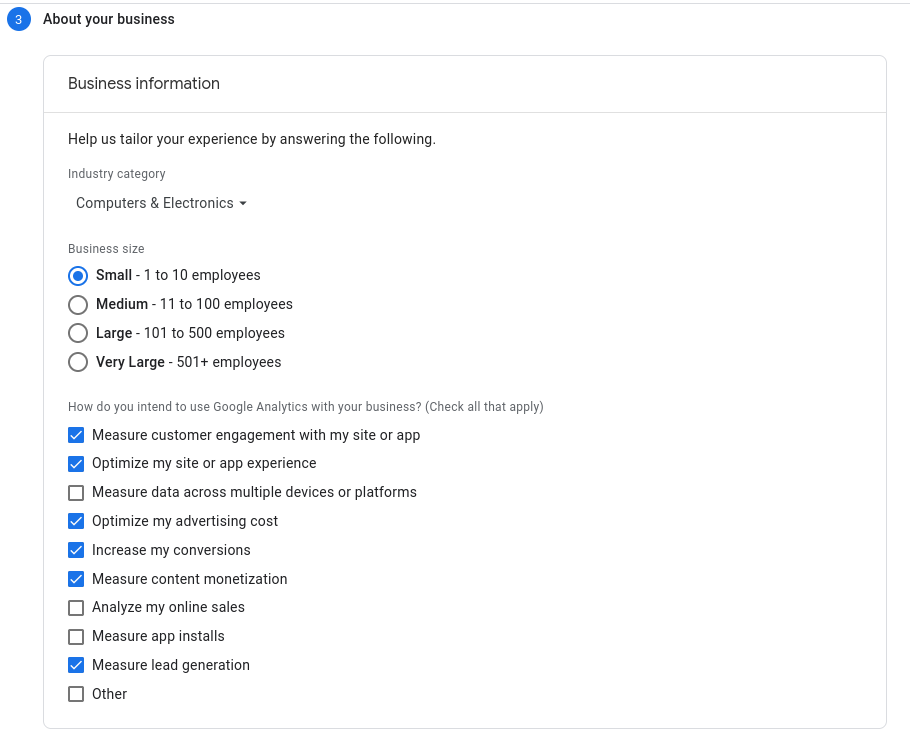
- Fill in your business information
- Finish the submission form and accept the terms of service
- Create a data stream by choosing the Web platform
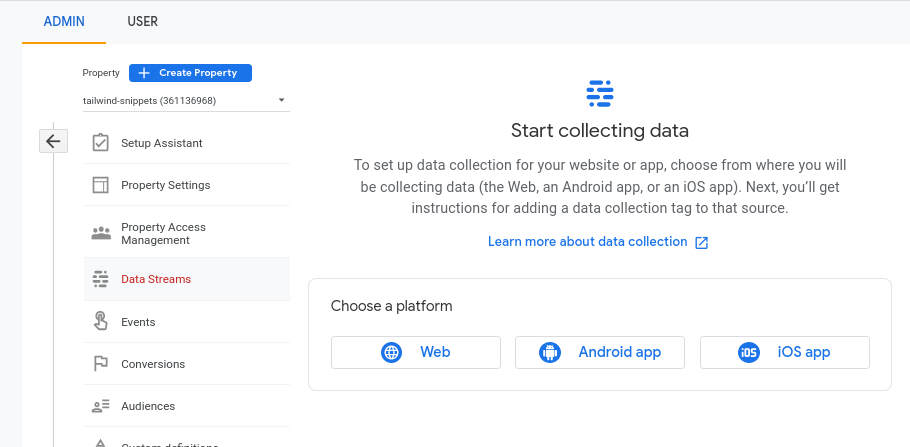
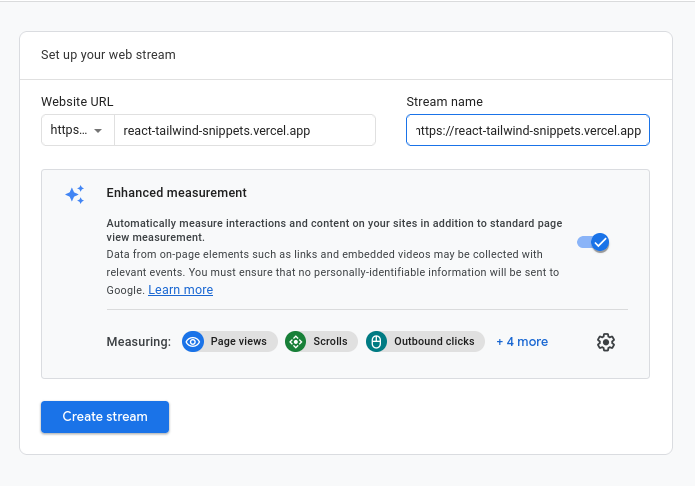
- Fill in the form and activate the Enhanced Measurement feature to collect basic events like page view, scroll, etc.
- After the data stream successfully created, you can see the instructions to install the gtag library into your site
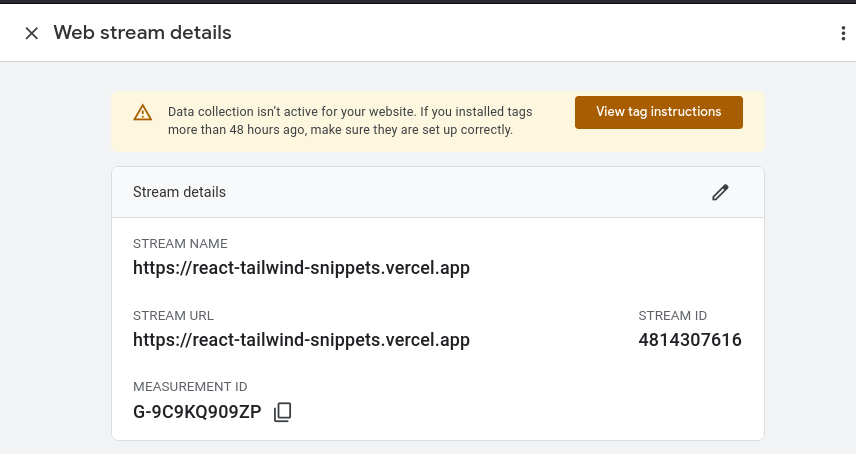
- Click “View tag instructions” then choose “Install manually”. Copy the code snippet and we will use it in our Next.js project
Install gtag.js into Next.js Project
- Put the Google Analytics measurement ID from the previous instructions into environment variables via
.envfile (replace <measurement-id> with your measurement ID).NEXT_PUBLIC_GOOGLE_ANALYTICS_MEASUREMENT_ID=<measurement-id>Note: do not push
.envfile into git repository - Create
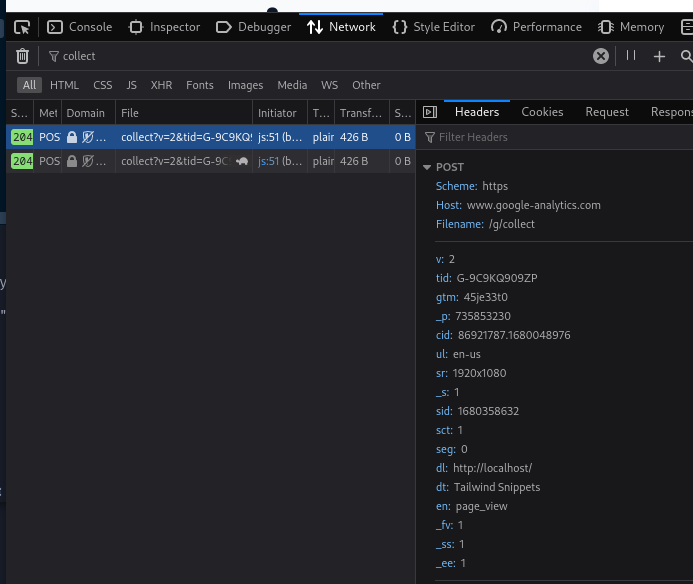
pages/_document.tsxand put the gtag script copied from the previous instructions.import { Head, Html, Main, NextScript } from 'next/document'; import Script from 'next/script'; export default function Document() { return ( <Html> <Head> <Script src={`https://www.googletagmanager.com/gtag/js?id=${process.env.NEXT_PUBLIC_GOOGLE_ANALYTICS_MEASUREMENT_ID}`} strategy="afterInteractive" /> <Script id="google-analytics" strategy="afterInteractive"> {` window.dataLayer = window.dataLayer || []; function gtag(){dataLayer.push(arguments);} gtag('js', new Date()); gtag('config', '${process.env.NEXT_PUBLIC_GOOGLE_ANALYTICS_MEASUREMENT_ID}'); `} </Script> </Head> <body> <Main /> <NextScript /> </body> </Html> ); } - Refresh your web app and make sure there are network requests to the Google Analytics endpoint
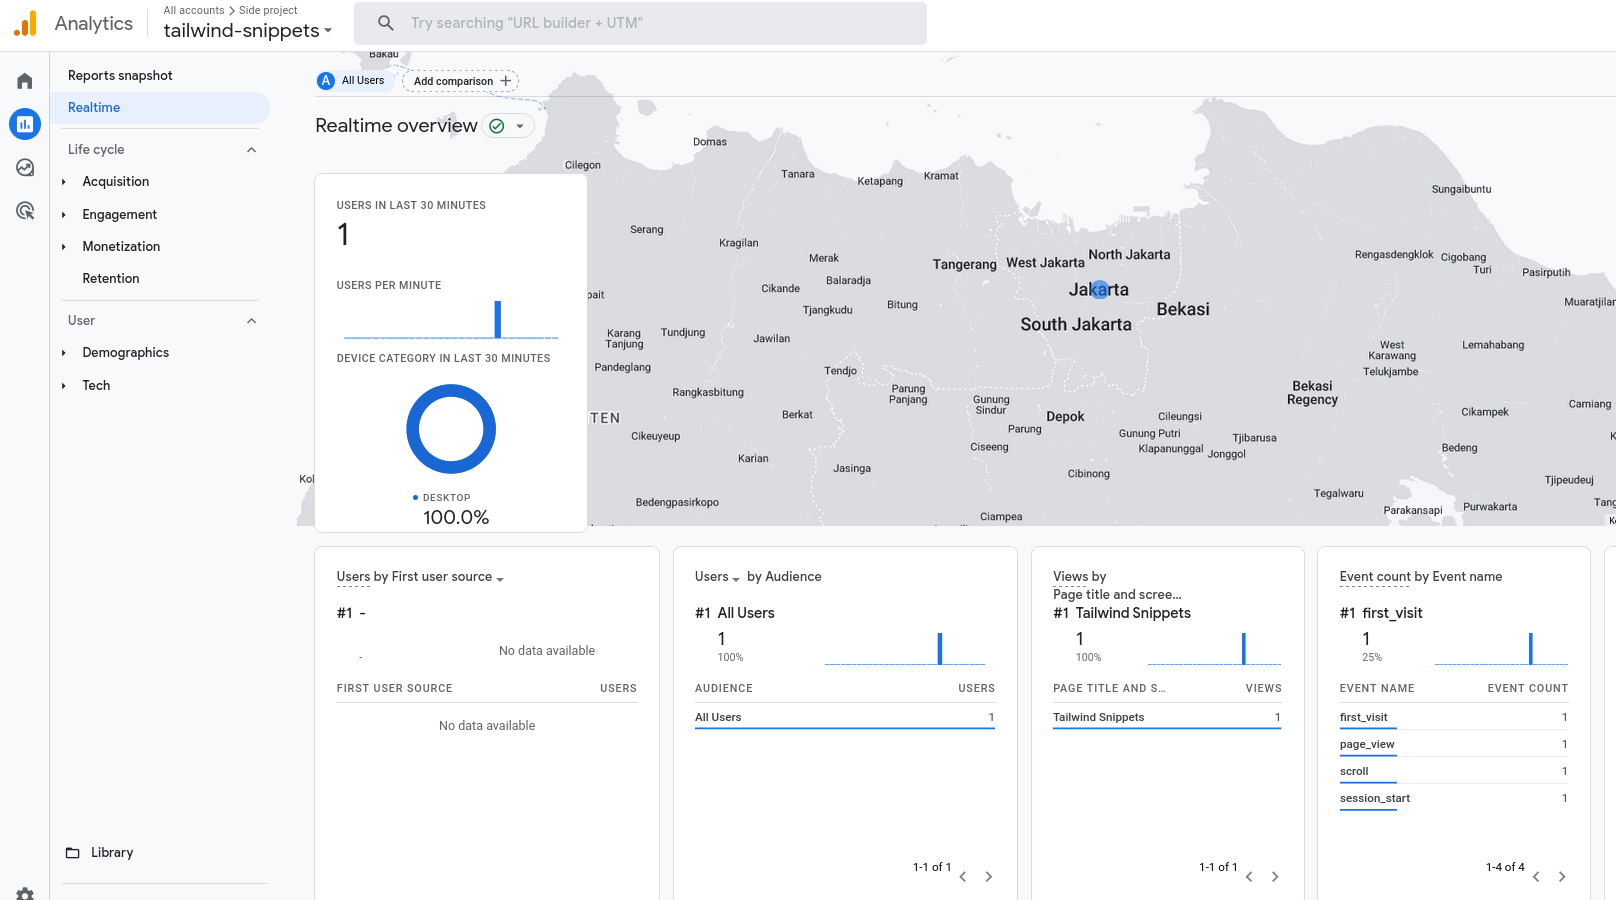
- Go to Reports → Realtime menu in the Google Analytics dashboard, then you’ll see new events are coming in
In conclusion, setting up Google Analytics 4 in a Next.js app is a relatively straightforward process that can provide you with valuable insights into your website's traffic and user behavior. You can start analyzing user interactions and make data-driven decisions to improve your website's user experience and drive growth.